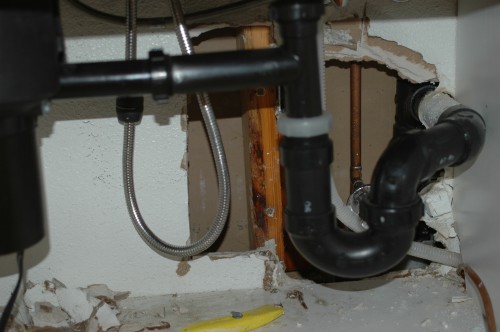
Had a “fun” night the other night fixing a leak. Â At first I thought it was the dishwasher leaking but upon further investigation found a broken pipe in the wall.
First step was to rip out the wall board.  That took 30 seconds since the wall board was completely soaked.
The leak was obvious:
Do you see something odd here–other than the spray of water coming out of the pipe that is?  Both coper pipes that you see go into the slab but the leaky pipe in the center has a “T” fitting where it appears that the pipe needed to be extended after being cut off too short. Instead of using a basic coupling the “plumber” (in quotes since I’m less than impressed with the shortcut he took) used a “T” fitting but then capped it in some odd way.  If it was a hunk of pipe it would be smaller than the size of the outside of the fitting.  After several hours of blowing on the pipes to get enough water out so the torch would heat up pipe I was able to remove the fitting.
And found that the “plumber” instead of using a small piece of pipe and  cap just soldered a cap backwards directly on the “T”.  Since the outside diameter of both pieces are the same size the only part that fit inside the “T” would have just been the rounded corners of the cap.
I’m actually pretty impressed with the “plumber’s” skills in being able to make this shortcut work as long as it did.
After multiple trips to the store including a 11:30PM run to Walmart since it was the only place open to find some decent solder paste since the newfangled stuff I bought at Homedepot early in the day wasn’t worth the price of the container it is stored in, here is the finished repair.  The repair is nothing fancy.  Just a small hunk of pipe and cap.


